Monday, December 23, 2013

My frame has arrived!

Woke up to a loud thud this morning and found that it was the mail carrier leaning the package my frame came in against the front door.


Opened it up after having gone back to bed for a while. I ordered this from Thomas Clark not very long ago and he got it sent out quickly for me. 


Got it all unpacked and pulled up the assembly video on YouTube. While unpacking I found the top ring had a cracked piece on it, but its not a big deal as it is in a spot that will be cut out eventually for the LDP anyway. 


After a short amount of time I had the front part if the frame mostly together. Ignore the mess of my house =]


I'm just dry fitting everything for the time being as I don't have my skins or my utility arms yet. Want to have those parts before I start gluing so that I know its all going together correctly. I will need to do some sanding before I put it together a second time. Some joints were quite tight and needed a rubber mallet to get into place. I'm sure with glue in there the fit will be even tighter. 

I got it all together though. Exciting to see R2 taking shape. 


Wednesday, December 18, 2013

Long time, but not a ton of work =[

It's been quite a while since I last posted. Sadly, that doesn't mean a lot has gotten done. A few days after my last post I had an interview for my first "Real" job as I had just graduated in early May. After getting the job and starting it, my progress on R2 entirely died. Eventually I got into the new routine and have been able to work on a few things very slowly. This post should get my progress mostly caught up.

First things first. In my last post I mentioned that I had a really large gap at the top of my dome. Turns out I was just afraid of breaking the styrene and wasn't really trying hard enough. Once I finally pulled it out of the box I was able to get it down to this.


On the lower half I have a nice snug fit. Happy with it. 


The bottom part of the upper half has a good snug fit as well.


This picture is upside down I guess. At the bottom of the image is the top of the pie panel. You can see a small gap here, but nothing like was in my last post. This seemed much more manageable. Or at least I thought so, more on that later. 


This here is where the big issue is. Clearly I have a rather large gap on what I've been calling the 'spines' of the pie panels. Everyone of them has a gap about this size and it bothers me quite a lot. After showing this images around I decided to go ahead and cut the dome and see if that would help. 

The problem I thought I might run into (which I did) was that if I had a snug fit at the bottom of the pie panels, how does cutting below that point help at all? If it's already snug there it can't really move up any more than it already is can it? It was mentioned that I might not be able to move it vertically, but twisting it around and trying different angles might do the trick. That gave me hope, as it's true, you might be able to find a good fit by doing that. In my case, however, that wasn't the case. I still haven't gotten this nailed down, but the plan is to try and cut out the pie panel openings on the inner-upper dome and then try to hold the thinner, more flexible spine in place while the weldon does it's job. Once I have a nice day out that I don't mind working with the dremel outside I'll attempt this. 

I also picked up the MDF floral ring from Michaels and because I was feeling impatient and didn't have the tools around to cut the 2mm off of it that I needed to, I used a saw on the leatherman I had laying around. It took quite some time to get all the way around the ring with this tiny hand saw, but it worked out just fine in the end. Here's a bulk of images showing all of the dome stuff. 


Something I had seen in another builder's log was that the supplied base ring didn't exactly line up properly with the ends of the dome. Meaning it sticks out a little below the dome and it isn't flush going down. He never got an answer on how to compensate for that, so I thought I'd ask again here. (I think he might have switched to an aluminum dome since then) Here's pictures showing what I'm talking about. First image is flush, second shows the base ring sticking out a bit. 


Over this time I picked up some resin parts from Wayne Orr. Here's what I got. 


Got the radar eye, logic surrounds, and 3 (only one pictured) holo projectors. They all look great, but still need some clean up. In the last image here you can see that the back plate and the hole it goes into have some extra resin on them. I'm not entirely sure how to clean this up with out damaging the threads on these pieces. Speaking of the threads, can anyone explain how they work exactly? They don't look like they are actually spiral threads as much as just rings to hold it in place. Is it just pop in and out and friction handling these? 

I also got a handful of these little guys which are basically power splitters. They take an input and have 4 outputs. Should come in handy eventually. 


My newest part just came in this week and while I initially intended for it to just sit in pieces in the box until I was ready for it, I felt the need to put it together last night and here it is. 


In the near future I have a wooden frame arriving. I sent the funds for it at the end of last week and hope to see it before Christmas. Once it gets here I should be ordering my rockler bearing before too long too and I'll mount this nice R2ATL dome drive. It's likely to be one of the only aluminum parts that I use, but I just couldn't pass up this run knowing that my frame would be here so soon. I was surprised to see how small the motor was on this thing. Every image I've seen of these things has been a close up shot like the ones above and they make it seem like a rather large piece, but it is pretty small. I was always thinking these wheels took up far more room in the dome opening than they do =D

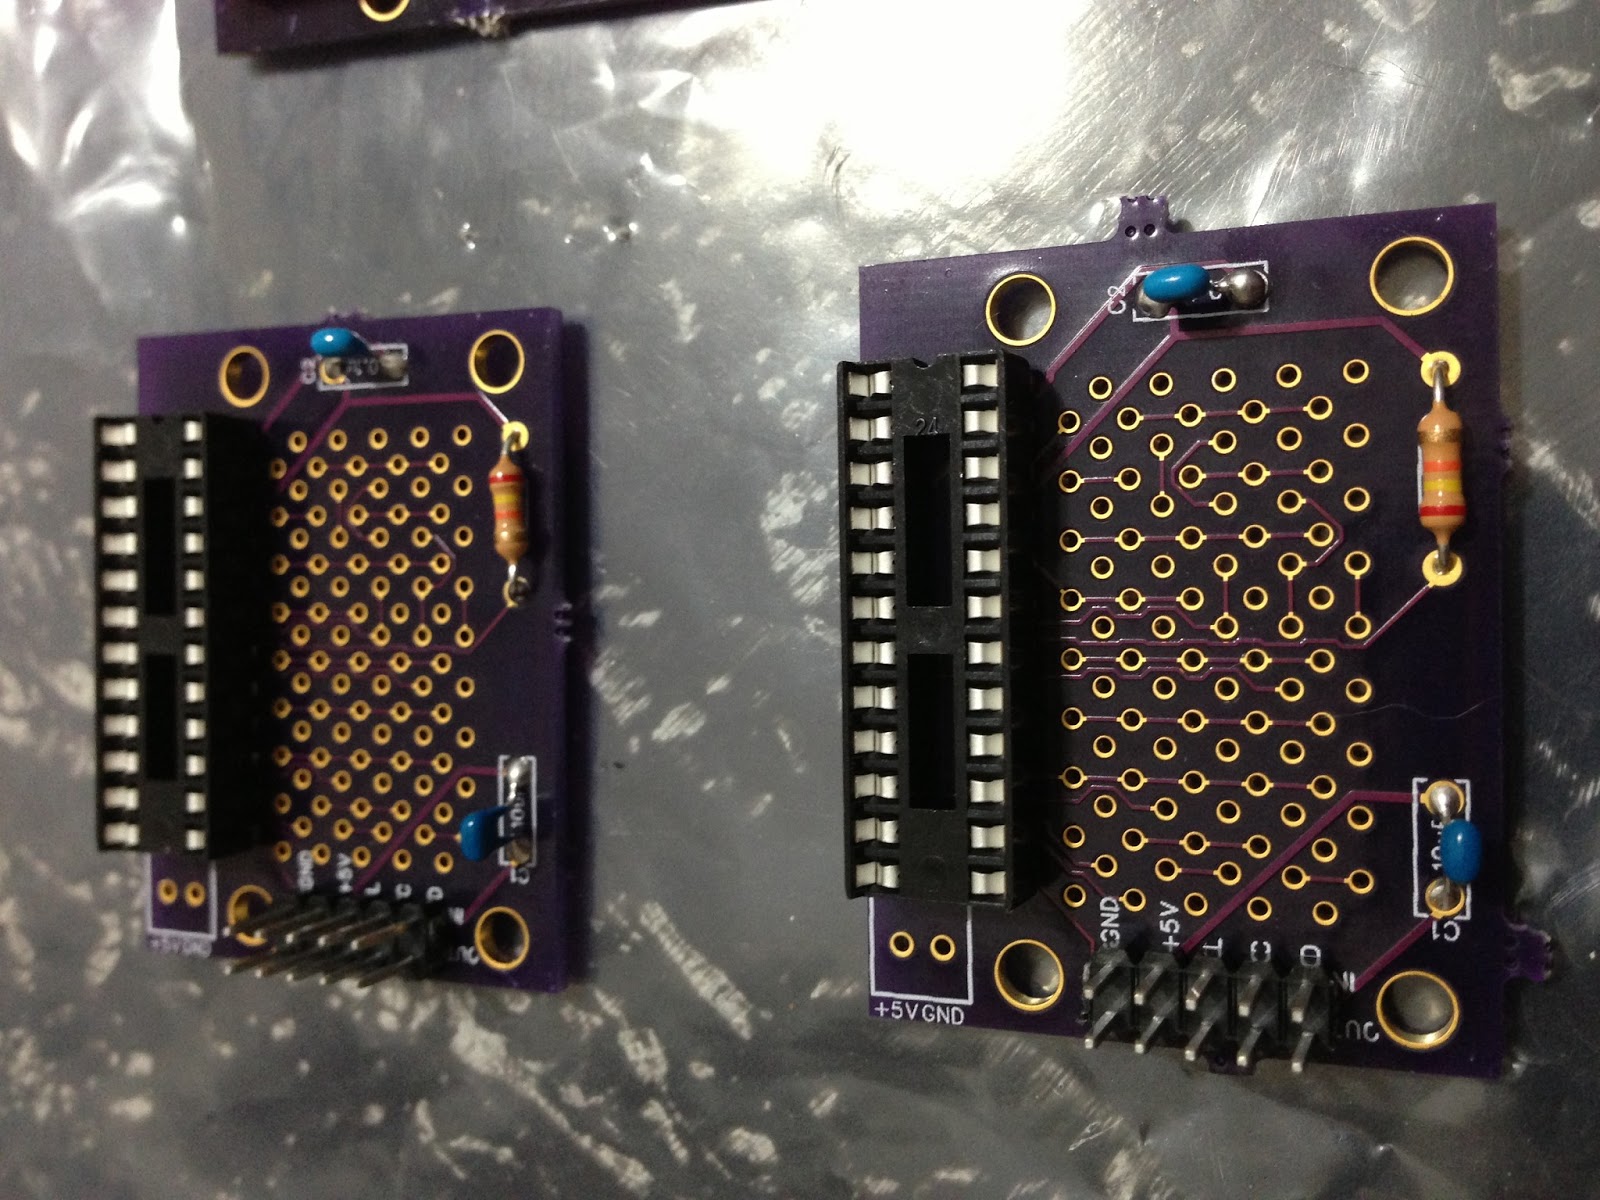
A few things not pictured here are a few PCB boards I have ready to assemble. I received a Data logic port board a long long time ago now and assembled it a couple of weeks ago. My Uno died on me so I haven't had a change to test it yet. The guy I bought it from has them made and sells them on eBay. They're knock offs, but all of the pro mini's I've bought from him (10-12) have all worked just fine, so I'm torn on whether to order another from him again. For $13 it's pretty cheap. I also have the CBI to go along with this board, and I believe I have the left over components from other projects to put it together, but I thought I'd wait on another Uno first.

I also got 3 of CuriousMarcs holo boards, and 2 of the marcduino boards. I have none of the components for these yet, but plan to order them soon. 

Really I have plenty to work on, and will have more once the frame gets here. I keep telling myself I don't know what to work on though. One of these nights I'll work out a game plan though =D

Wednesday, May 15, 2013

The Dome Has Arrived

Got home from work today to find a giant box in my living room. After checking it all out I started labeling the panels. Plenty to work on now!


First test fit and I'm pretty sure I'm going to have to cut the inner dome. I tried turning it slightly and putting it back on over and over and it never got anywhere close to fitting.


So, the next night I have some time to work on this will be spent filing down the tabs and sanding. Once I've done that I'll have to look into how I want to go about cutting the inner done. 

Sunday, May 5, 2013

Problems With Padawan Communication

I've run into a bit of a snag with integrating the Padawan System with the Teeces set. The idea behind the two working together is that certain behaviors are triggered by button presses on the ps2 controller. This is suppose to work by having the Uno send a signal to the arduino controlling the teeces lights. In my case it is sending it to a micro. I've wired everything according to the wiki page, but there seems to be no communication between the two. The sounds still fire off just fine, but not light changes.

For now it's not a huge problem. I'm quite a ways out from even installing any of the electronics into my droid, you know, because I don't have any droid pieces except for the electronics yet. =D The dome should be on it's week later this week. Daren had to order some stronger boxes as UPS was destroying the originals. Unless I magically find an answer to the Padawan issue before I receive the dome, there likely wont be any further updates until I get the dome in. Can't wait to get started on it.

Friday, May 3, 2013

Teeces Set Completed!

Last night when I got home from work I sat down and soldered the rest of my LEDs into place. Once I put all the chips in place and tested it out I ran into the first snag in my project. One of my green LEDs was constantly on, and it seemed to be at a higher intensity than the rest of them. After talking with JoyMonkey I learned that this is how the LEDs will behave if they are put in backwards. Putting one out of over 250 LEDs in backwards isn't too big of a deal, however I'm apparently terrible at removing solder.

I left the boards alone and went and saw Ironman 3 and got back to work when I got home. I expected to spend about 15-20 minutes removing the LED and putting it back in the right way around, but that's not at all what happened. >.< An hour and a half later I went to bed rather frustrated. I had not only removed the LED, but I had broken a second in the process. On top of that I was struggling to get a new LED in to replace the one I got out and I still couldn't get the second broken LED out. 

The next morning I was able to get the new LED in place before heading to work, so that brightened my mood a bit. =D I spoke to JoyMonkey again about removing the broken LED and he gave me the great advice of cutting the broken LED in half so that I could remove one lead from the solder at a time.  With that advice I was able to finish up my RLD rather quickly. The only issue remaining with that board is that I have one too many green LEDs and one missing red LED. I didn't order any spare red ones, but thankfully JoyMonkey had sent a few extra green ones. I don't think anyone will be able to tell though, so no harm done. 

In the pictures below you might be able to tell that the green in my PSI is a bit dim. All of the other 5mm I had on hand when I started seem to be pretty great for this project, but those appear to be junk to me. I ordered them all on eBay in the same auction over two years ago so I can't even tell you who I got them from. I'd stick to the ones people recommend if you plan on putting this together though =D


You'll also notice here that my PSI's are in new housings. I'll get picture of these in the future, but they're mcwhlr budget rubber PSI housings. They're pretty awesome!


Here's a short video of them running. 


Next up I'll be working on putting these into my Padawan system. From what I've read it's really just connecting one pin from the Uno to one pin on the Micro, and having a shared ground. I'll test this soon. 


Wednesday, May 1, 2013

Parts Have Arrived! One FLD Finished!

My parts from both JoyMonkey and China arrived and I got to work. For tonight I just put together one of my FLDs because I really wanted to see how they looked! It turned out great!

Here are a few shots showing it off. The bezels from JoyMonkey really add to the look of these displays, and they fit really well. 


Since the chips came in I also tested out my PSIs and they both look great. No pictures were taken of them yet, but I'll get some in a future update. I'll be getting the other FLD and the RLD finished up soon. 

Monday, April 29, 2013

New Addition To The Build Team

So, not necessarily something that was needed to build my R2 unti, but at the same time it was. =D

My wife and I saw one of these units on craigslist about a year ago now for $50. It was actually the first time I had heard of them, which kind of shocks me because we both are huge fans of both Star Wars, and toys for that matter. We let that one slip back then, but since starting this project it was something that had been in my head the whole time. After watching a bunch of auctions go by on eBay, I grabbed this one for $60 and it arrived earlier today. It seems to hear commands sometimes without us giving them, and ends up patrolling the room or following me around the room, but otherwise it seems to work great. As soon as we took it out of the package we went and picked up my wife's three year old sister from daycare to show her. She thought it was wonderful! (She recently began watching the original trilogy with us. Go ahead and ask her who Luke's dad is, she'll tell you =D)


So, as you can probably see here, my work space, like many others, is my kitchen table currently. I'll work on a part for the night and then I try to clean up the tools and parts when I'm done so that it can be used for other things while I'm not working. My wife would likely point out I don't get it cleaned off every night, but that's why I said I try to. =D 

More build posts coming soon!

Saturday, April 27, 2013

My Padawan System Is Working!

Well, the sound is anyhow. At this point I have a wireless ps2 controller, with the receiver plugged into a ps2 controller extension cable. That extension cable has been hacked in half, and the inside wires are being used as inputs to the Arduino Uno. The Uno is a cheap clone, but works great. The Uno is loaded up with code that has been put together by Danf, who I'd like to thank for the work he has done, the help he has given me so far, and the help I'm sure he will give me in the future as I start to add more to the controller set up. The code handles the input and output. I already covered the input, so the output goes from the Uno, to the mp3 trigger that is preloaded with the Padawan Sound files. These are the same basic R2-D2 sounds most builder are using with, but come in a specific order so that they match up with the code. Something worth pointing out about these files is that they have to be put onto the sd card one at a time, in the order they are listed in. Many people have had issues with the wrong sounds playing for the triggers and that is due to the fact that they put all the files on at once. I didn't run into that issue, but I did a ton of reading before I even bought these parts. 


Here we have a couple of close ups of the wiring. It looks sloppy, but this is still me just testing to see if things are working. Once I get these boards mounted on a permanent solution, the wiring will be done a bit more properly. For one I plan to buy the ScrewShield for the Uno, which cleans things up quite a bit. 

If you can't make it out, I too some small pieces of solid wire and soldered them to the end of the frayed copper wire that is inside the ps2 extension cable. Made putting them into the header terminals a lot easier for testing. 


With this working I'll be moving back to my teeces system once the rest of my parts get here. Then once that is done I'll get to integrate the two systems together. The Padawan system makes it so that durring certain sound files the lights behave differently than normal. I believe the 4 different behaviors are short circuit, the Leia message, and the Empire song. Can't wait to get it all working!


Also, I believe I'm working on things backwards to what most builders do. From what I've read of other build logs most people put together the frame or dome first. Then they put everything together and then maybe start tinkering with the electronics. I have ordered my dome, but I am still waiting on it to be shipped. Electronics are something I find myself understand a bit easier than construction so this seemed like a natural place to start. Plus it makes my wife's three year old sister scream when I can make R2 noises come from across the room =D


Thursday, April 25, 2013

Some Logic Display Work

Here are the FLDs all put together minus the LEDs. Still waiting for them to arrive from JoyMonkey. The Chips are still on there way from China as well though, so I can't even test them until those show up as well. 


The RLD nearly finished as well. I have the red and yellow LEDs on hand from digikey, but I figured it would be easier to put them all in at once. Plus I'd like to double check my work with the components once the chips get here before I solder all of those LEDs in. You'll also see in this picture that I'm using the Arduino Micro. I got this one from Adafruit with the headers already soldered on. At the time I thought that that would be best, but I'm planning to use the Padawan system for my remote control, and I'll need to tap into a few pins on the micro. I might solder on an extra row of headers on the top like I did with my PSI's. Haven't really decided yet. 


Here's a couple of pictures of the PSI's together. Again you can see I am missing the chips still. Should be here soon. 


Here's a shot of all the boards together. 


Once the parts from china and JoyMonkey get here I'll sit down and put all of it together. I'll post more once I get it to that point. For now though I have the parts in to start working on my Padawan system and sound, so that will be what the next post is about!